I'm kind of bored right now, so I'm just gonna randomly play some Minecraft and talk about stuffs!
I'm playing in snapshot 18w49a, if you're wondering. I have no mods, shaders, or texture packs, and any maps I use are free to download!
---
First, I'm loading a map I downloaded from Planet Minecraft. The map is an AMAZING city built by Blip Noir, which, after a while, my map got corrupted and some terrain glitched out... but no biggie! I still have lots of fun when I play in it. The map is called City of Newisle v1.1 and you can download it here.
---




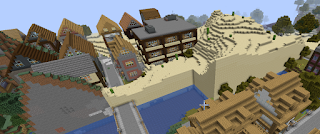




As the sun sets on Newisle and the day grows to an end, I just had to take a photo of the breath-taking sunset. That's all for this post- wow, it took a really long time to make, surprisingly! It was fun to make though. Do you think I should maybe do some more posts like this, maybe make some Let's Plays with my OC's or something? Comment down below 👇👇
=Gacha Kitty=
MARRY ME REBECCA!
I'm playing in snapshot 18w49a, if you're wondering. I have no mods, shaders, or texture packs, and any maps I use are free to download!
---
First, I'm loading a map I downloaded from Planet Minecraft. The map is an AMAZING city built by Blip Noir, which, after a while, my map got corrupted and some terrain glitched out... but no biggie! I still have lots of fun when I play in it. The map is called City of Newisle v1.1 and you can download it here.
---

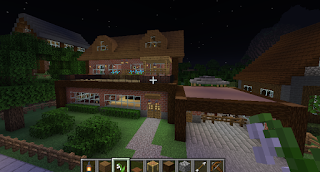
Here is my house. I chose it from the houses that were built in the city. Currently I am in Central Newisle, which is the heart and the main part of the city. It's very big and fun to explore, and it's also where I stay mostly because it's not corrupted 😅

This is a better view of my neighborhood. It is a large suburb outside of the main city. I apologize for the weird white part in the photo, I don't know where that came from. As you can see, this city is wonderfully detailed, as it has apartments, railways, and bridges that run over lakes!

Inside my garage, or my "stable" (I just transformed it a little with the power of CREATIVE MODE), are my two horses! They don't have names, I think I should name them. What do you think? Also, don't you love the addition of lanterns? They look great in the stable!

Inside of each sub-city (including Central Newisle) are many smaller railways and one railway that connects between each sub-city. Each sub-city has one central railway, but only bigger cities have the smaller railways. I'm sorry if that was confusing 😋 You'll get it once you download it (or if you have it already).

With the lantern update came different signs! Now you can get different wood signs and change the color of the text. Here I'm trying red text, lime green text, and light blue text.

Each neighborhood and road has a name. If you look closely on monuments, buildings, or neighborhood maps, you can possibly find a sign that gives a brief description about when and how the building was built. They're very interesting to read, actually!
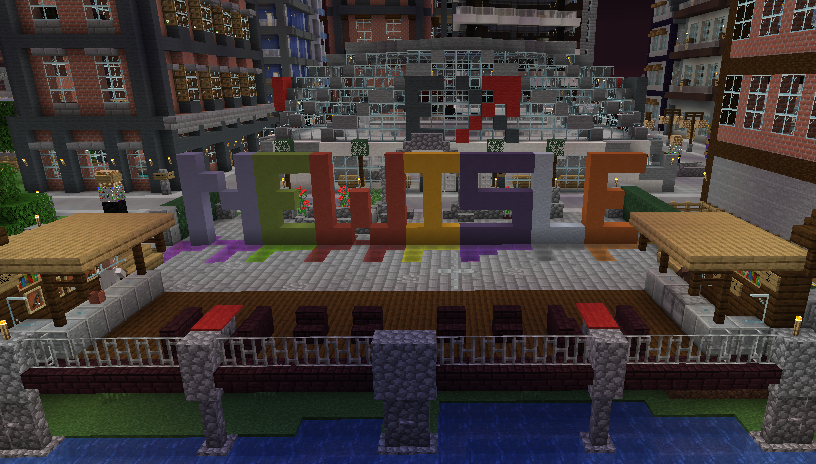
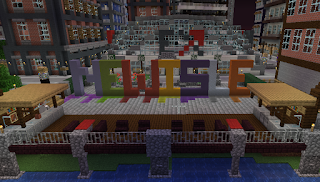
Here you can find a colorful sign for Newisle and a nice deck where you can eat your lunch and watch the waves.

Look at the gorgeous waters! You can even find a little school of fish I spawned in under the bridge!

Here is a Christmas tree I found in a village.

I took some fences, snow, lanterns, and some blocks of gold on top and turned this into a real Christmas tree!

Here is a research center that tunnels into a mountain!

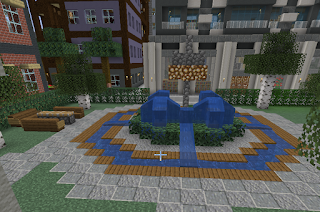
Look at this gorgeous mini-park and the detailed path.
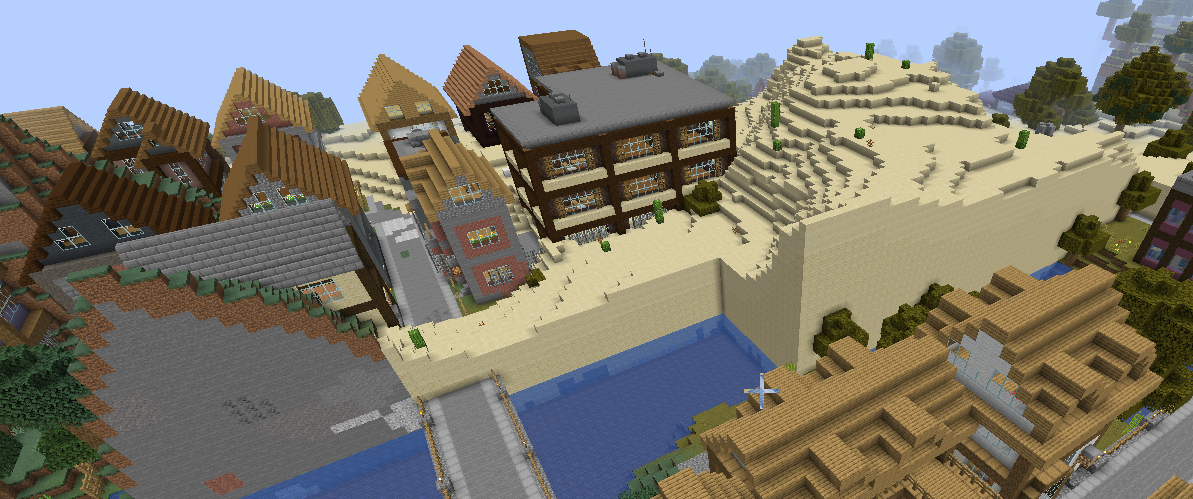
Here's when I noticed some terrain glitching. Oh well.

I found a cute little rabbit. If I find it again, I might rescue it from the glitching and corruption!

This is a beautiful building, and on each level it has a green park.

You might have found this railway station in one of my other photos! This is one of the main railways I have mentioned. Look for this "EX" sign in any sub-city, and that means it's a railways. This one can take you between all of the sub-cities.

I'm going to head to Grand Tree, a quaint village on a lake filled with trees and cabins.

Railways can take you under bridges, over bridges, and even underground in a tunnel.

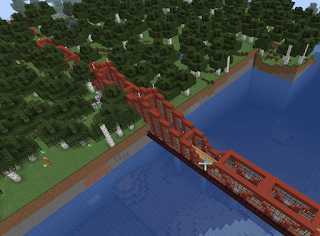
Right here I'm on a bridge going over a lake.

AHH! World corruption! DANG IT!! I knew this glitch would pop up again. So long, Grand Tree!

I followed the track back to Newisle and found a cute farmer's market!

As the sun sets on Newisle and the day grows to an end, I just had to take a photo of the breath-taking sunset. That's all for this post- wow, it took a really long time to make, surprisingly! It was fun to make though. Do you think I should maybe do some more posts like this, maybe make some Let's Plays with my OC's or something? Comment down below 👇👇
=Gacha Kitty=
MARRY ME REBECCA!